Allow me to indulge in a stroll down memory lane as I recount a few lessons learned since last December. Having only been in the hobby since April 2012, that moment marked a substantial milestone in my journey through the magical universe of sprues and glues.
 |
| Ohai! Continue on to see what CubanNecktie thought was a passable original paint scheme... |
I want to put this out there before we go on. I don't think my current work is all that amazing or anything. It is a testament to hard work and betterment so, naturally, I am very proud of it. I just got a new lightbox setup and still need to take pictures, but once you compare them to the work on these pages you'll see what I mean.
The improvements in technique are as evident in the paint schemes as they are in my understanding of how the various elements of the hobby cooperate to form the final product. A year from now I am certain I will look back with an even stronger foundation of knowledge. This base is something that only comes with time and experience. Plus, a lot of the fun comes from the small unexpected discoveries one makes along the way.
Skill versus style
A good eye for detail is as important to converting and painting models as colour theory or painting ability. You can quantify many elements of a hobby, but eventually you wander into a no-man's land that defies categorization. What I mean to say is that when all the elements of a model, and by extension an army, coalesce just so it imbues the work with a certain charm and character that is greater than the sum of its parts.
I write (bad) poetry on the side and I'll share some advice I was given by seasoned poets which holds its water when applied to the hobby. If you want to write well you have to continuously read other poets. In this case it means I am always looking at other people's creations; studying them well and studying them often. Soon you develop the critical "hobbyist eye" and, more importantly, your style preferences. All I'm getting at is that with practice you can start to notice the intent of a piece separate from its execution. This is quite handy when the time comes to take technical risks and improve your skill set. Here are some great places to start:
- Game Summit
- Heresy-Online
- DakkaDakka
- CoolMiniOrNot
- Tale of Painters
- Studio Hobby Thumbs *cough* ahem...tell your friends *cough*
If you love the hobby aspect of tabletop wargaming, then why not be a driving force of constructive improvement in your hobby community? Transfer your knowledge, be open to good critiques and above all don't discount the work of newer painters. You can always learn something through another's process.
 |
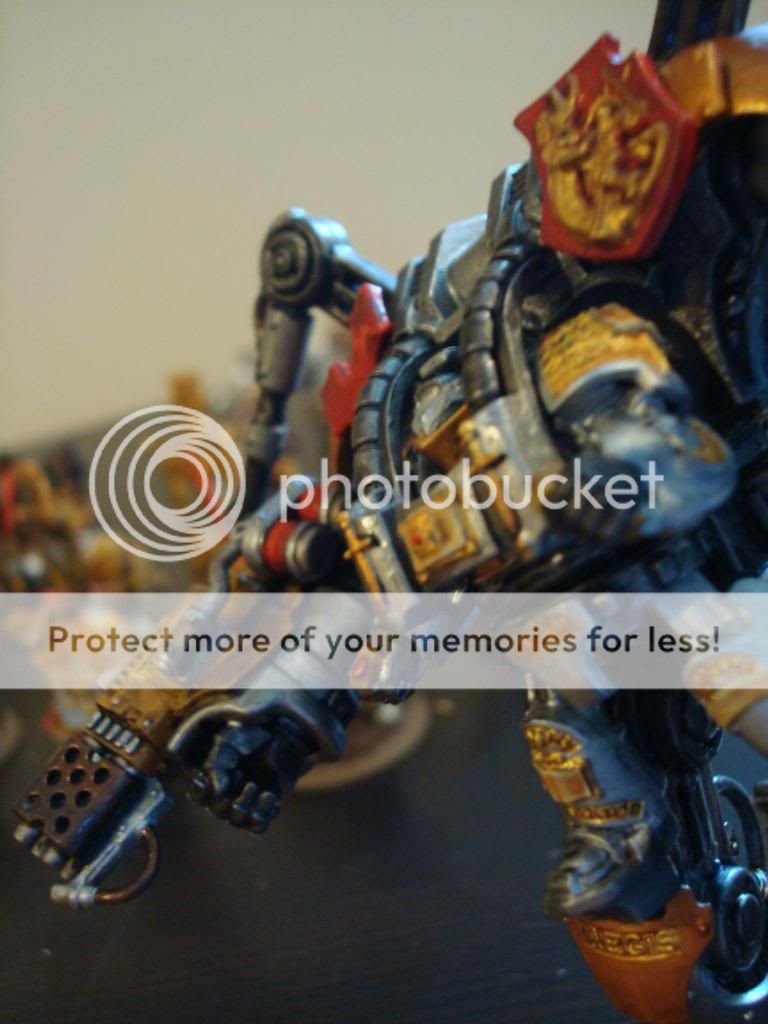
| Yo dawg! I heard you liked gold, so we put some gold on your gold so you can gold while you gold. |
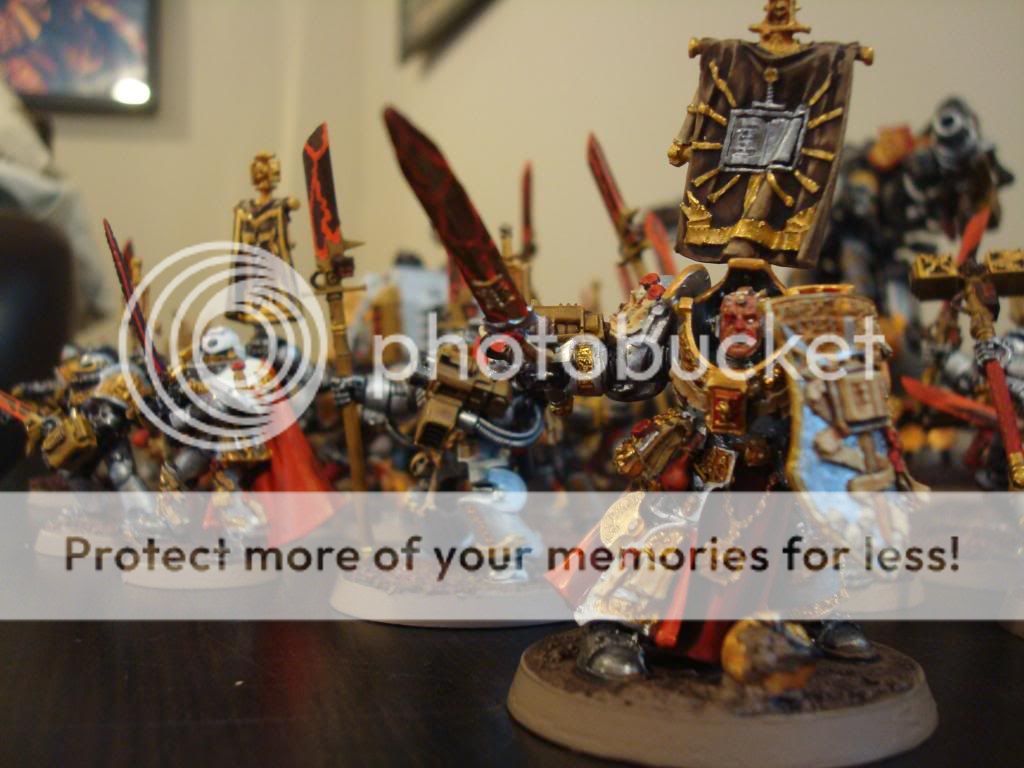
Take my original GK force, for example. I had a different (more limited) mindset in terms of style and preference at the time:
- I didn't like the dominance of metallic silver in the official, current GK scheme so I winged it. I didn't like the blue wash in the GW shots so I didn't wash the silver at all. Reinventing the wheel based on style preferences can limit the effectiveness of your theme unless you have a technical alternative.
- I tried to be different in my scheme (force swords, bolters, banners) because I figured I'd only do one army and I wanted to blow people away with my revolutionary mustard storm bolters. One army. It was a more innocent time then.
- I had a limited supply of Citadel paint pots so I rationalized a paint cycle mentality. In other words, I know I'm painting parts A, B and C with intentional colours. Over the course of painting I've discovered minor details D, E and F on the model. As a result I'll take a shortcut and alternate the A-B-C colours on details D-E-F. It's like telling the audience: "I see that little bottle hanging off Draigo's belt, but I don't care enough about it to go outside my 5 colour scheme." Simple schemes done well are one thing and can work if intentional. A shortcut like mine detracts from the overall result in a subtle way.
You may think this is just nitpicking and you may be right. It all comes down to your painting goals, style tastes and preferences. For me, however, this is a small example of how I've shifted the culture of my work. When I was in corporate sales training long ago they drilled this creed into us: "Work smart, not hard". That's all I'm saying. I take plenty of shortcuts to reduce my workload. The key is to take shortcuts on the thankless, grind steps and spend most of your time on the critical touches. Over time I've found a balance between my final vision and the level of effort I'm willing to put into it. Each model you finish will not be a show-stopper.
I'll touch briefly on a few points on the skill side of things. The end goal is to pump out a good looking army, but to have fun doing it. This is a challenge for sure:
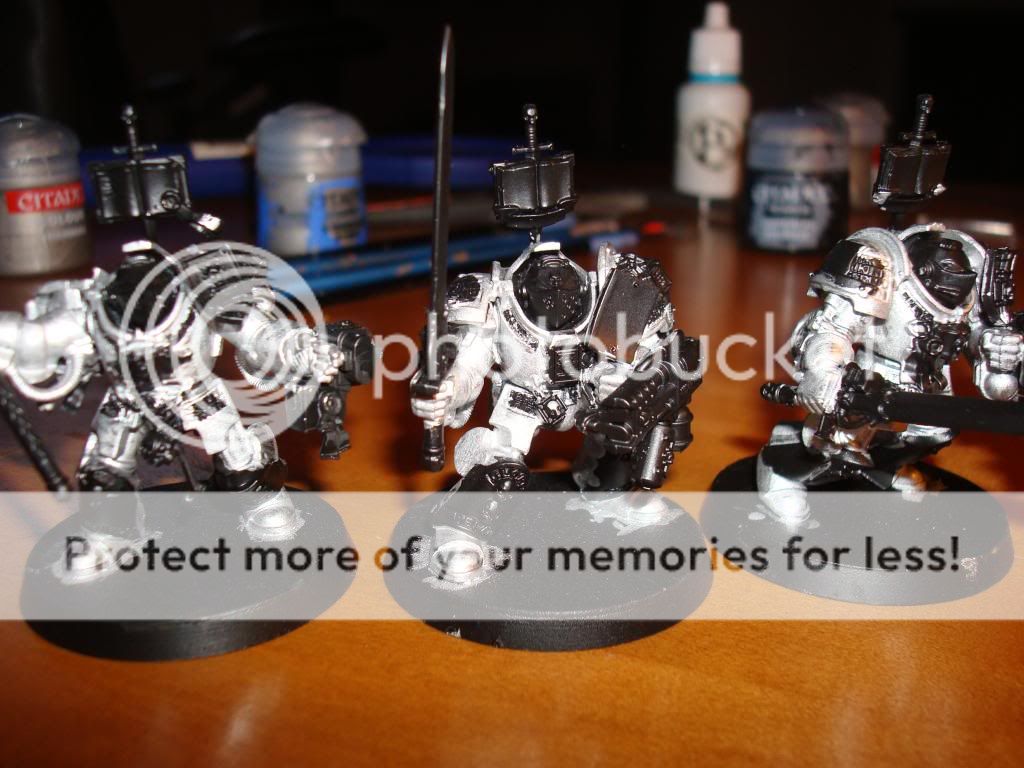 |
| in Dante's Inferno brush basing silver is the third circle of hell |
- Washes are a revelation for those uninitiated. If you don't know any better, use them and learn to love them. Nuff said.
- I followed the guides and primed the models black. Then I hand brushed the base silver. Alright, let's cut to the chase. I have painted a good hundred models by hand since this version of the Grey Knights army. None of which have been base layered by brush. Unless you own an airbrush, I recommend handling the priming and the base layer in one shot. Drop a wash on it and you're in business. The wonderful folks at The Army Painter make some coloured canned sprays to this end. They even have a metallic silver, which is now my base for most Space Marine chapters. As far as I know all marine armor is metallic under the paint and so their joints are always metallic. A Nuln Oil Citadel wash over Army Painter Plate Mail gets you most of the way there. Then a few layers of chapter colours, details and you're off to the races.
- I used to start with the big paint surfaces then work up to details. This is not always the best approach. Back to the Grey Knights. These models have text elements inset in their armour. I'll do all the gold work on these parts first then paint the armour colour (which is graphite grey in my final scheme). It's much easier to paint around a finished indent than to paint into a finished armour coat. Think about how a chain stacks above a tabard that, in turn, wraps over a chest plate. Does it make sense to paint from the lowest level up? Or, is the gradient on the cloth the most important element and the other two items can carefully be filled in later? Don't just plan your painting by colour or body part, inspect model details for difficulty and their importance to the final design.
- To my last two points, consider a paint chip scenario that results from wear and tear. How much will paint loss affect the scheme? Since this army is primed in silver the paint loss would appear as exposed armor or actual battle damage! This isn't a huge selling point, but it is an added benefit to this method. And an example of how a realistic approach to colour choices has organic benefits. OK, I may be reaching on this one...
- I'm getting tired of typing so I'll end on an important item: basing. If your painting intentions go beyond the "3 colour minimum and let's play!" style, please, please, please base your miniatures. There's nothing worse than seeing a decent paintjob and a bare base. I swear by the new Citadel texture line of pots, but if that's too rich for your blood, some sand and PVA white (school) glue will work. Oh, might be just me here, but please don't write stuff on the lip of your base. Freehand letters are hard and they cheapen the whole look. Try using a silver ink marker under your base if you're into naming your models Zanthraxor or Jizanthapus or whatever.
If you've made it this far, I commend you. I barely did. Part 2 will probably happen at some point when I gather my thoughts. Stay thirsty my friends. Wait. No. I need to make a catchphrase for the blog. That's a thing right? Let me see here...Keep your thumbs clean! TDB.
No comments:
Post a Comment